

Managing Practitioner Bookings, Completing Treatment Records, and Processing Payments in Glowday
If you’re considering joining Glowday to help manage your to manage the diary, handle booking actions, complete consultations and treatment records, collect consent, process payment, and publish before and afters, here’s a quick run through of the platform.
You can watch it here, or read on for a step-by-step guide.
1. Review the practitioner dashboard and diary 0:06
Review the available sections:
Account management
Availability
Treatments
Patient directory
Business insights
Patient communication
Use the diary as the primary daily workspace, since most actions begin there.
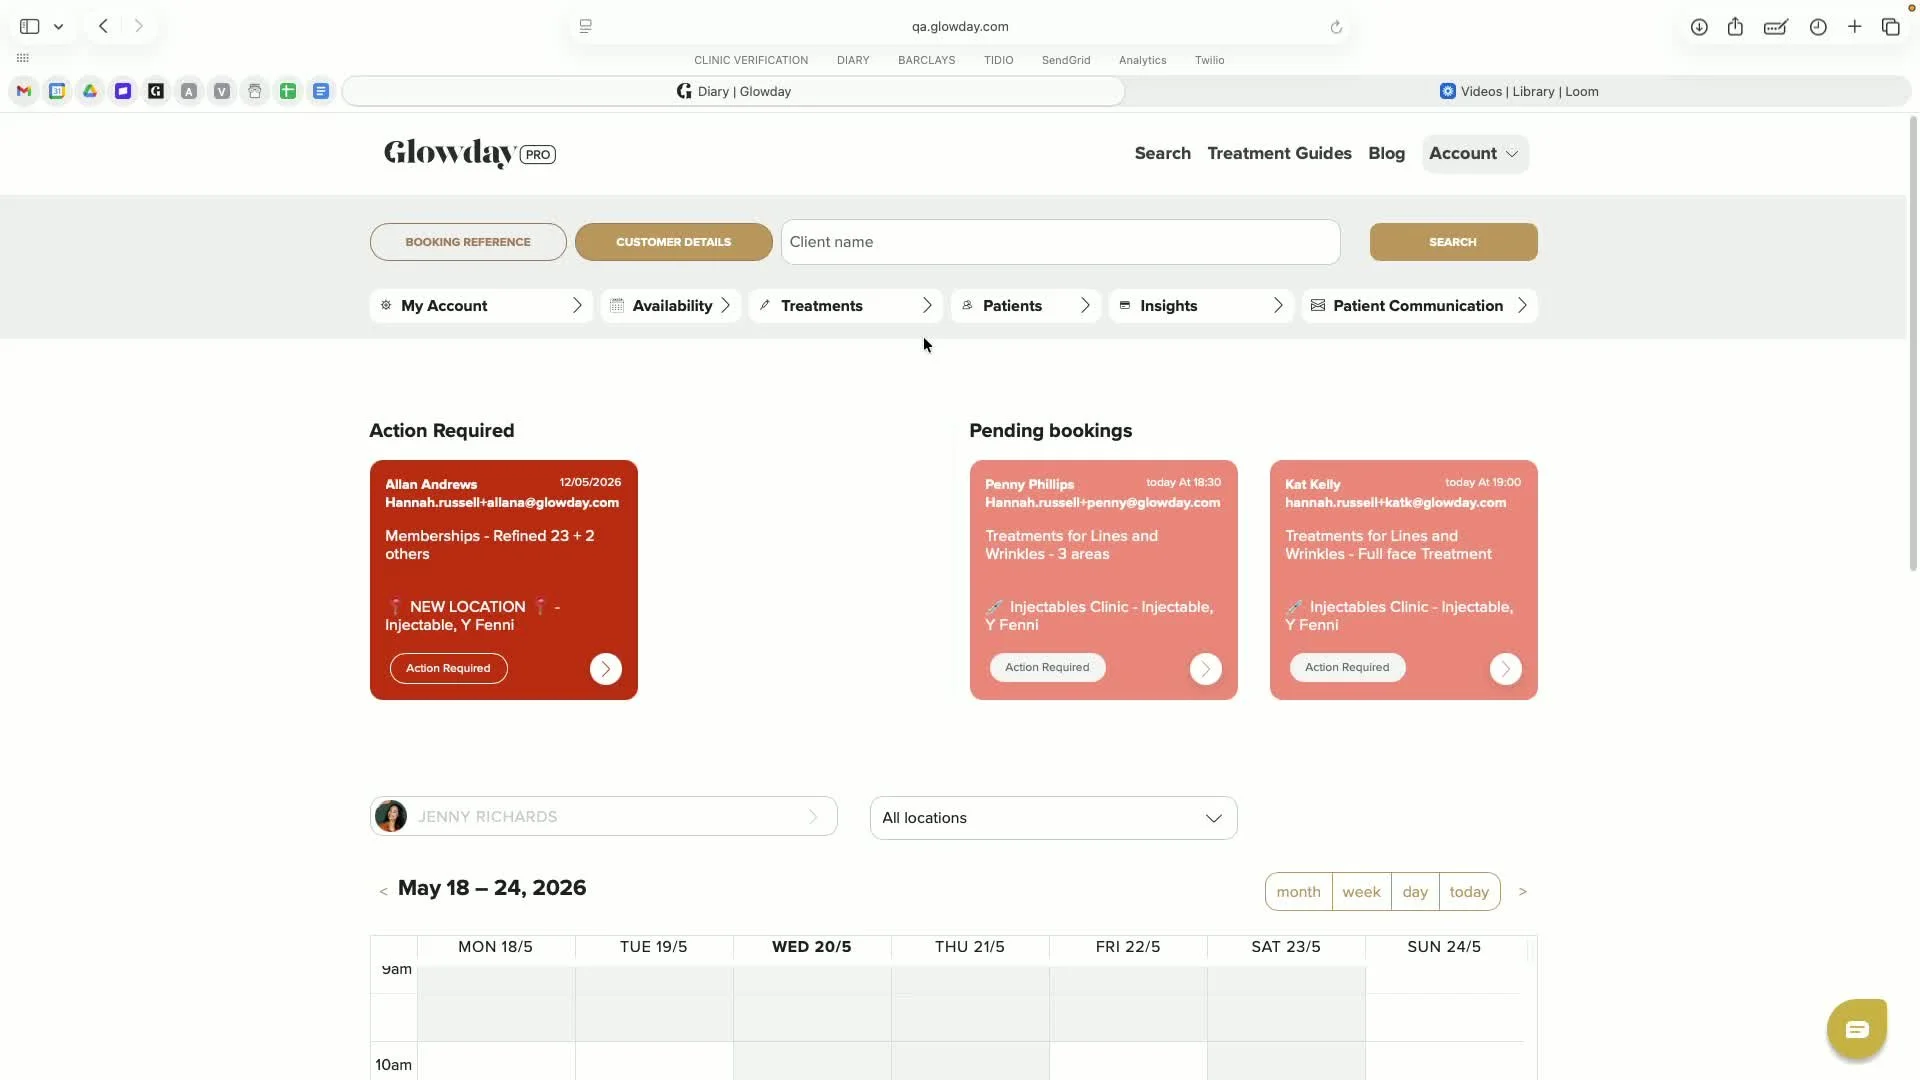
2. Identify bookings that require action 0:26
Check the top of the diary for bookings requiring action.
Review the left-hand side for incomplete treatment records.
Review the right-hand side for pending bookings that have been added but not yet confirmed by the patient.
Open pending bookings as needed to resend confirmation requests by email or text message.
3. Understand booking statuses in the diary 0:57
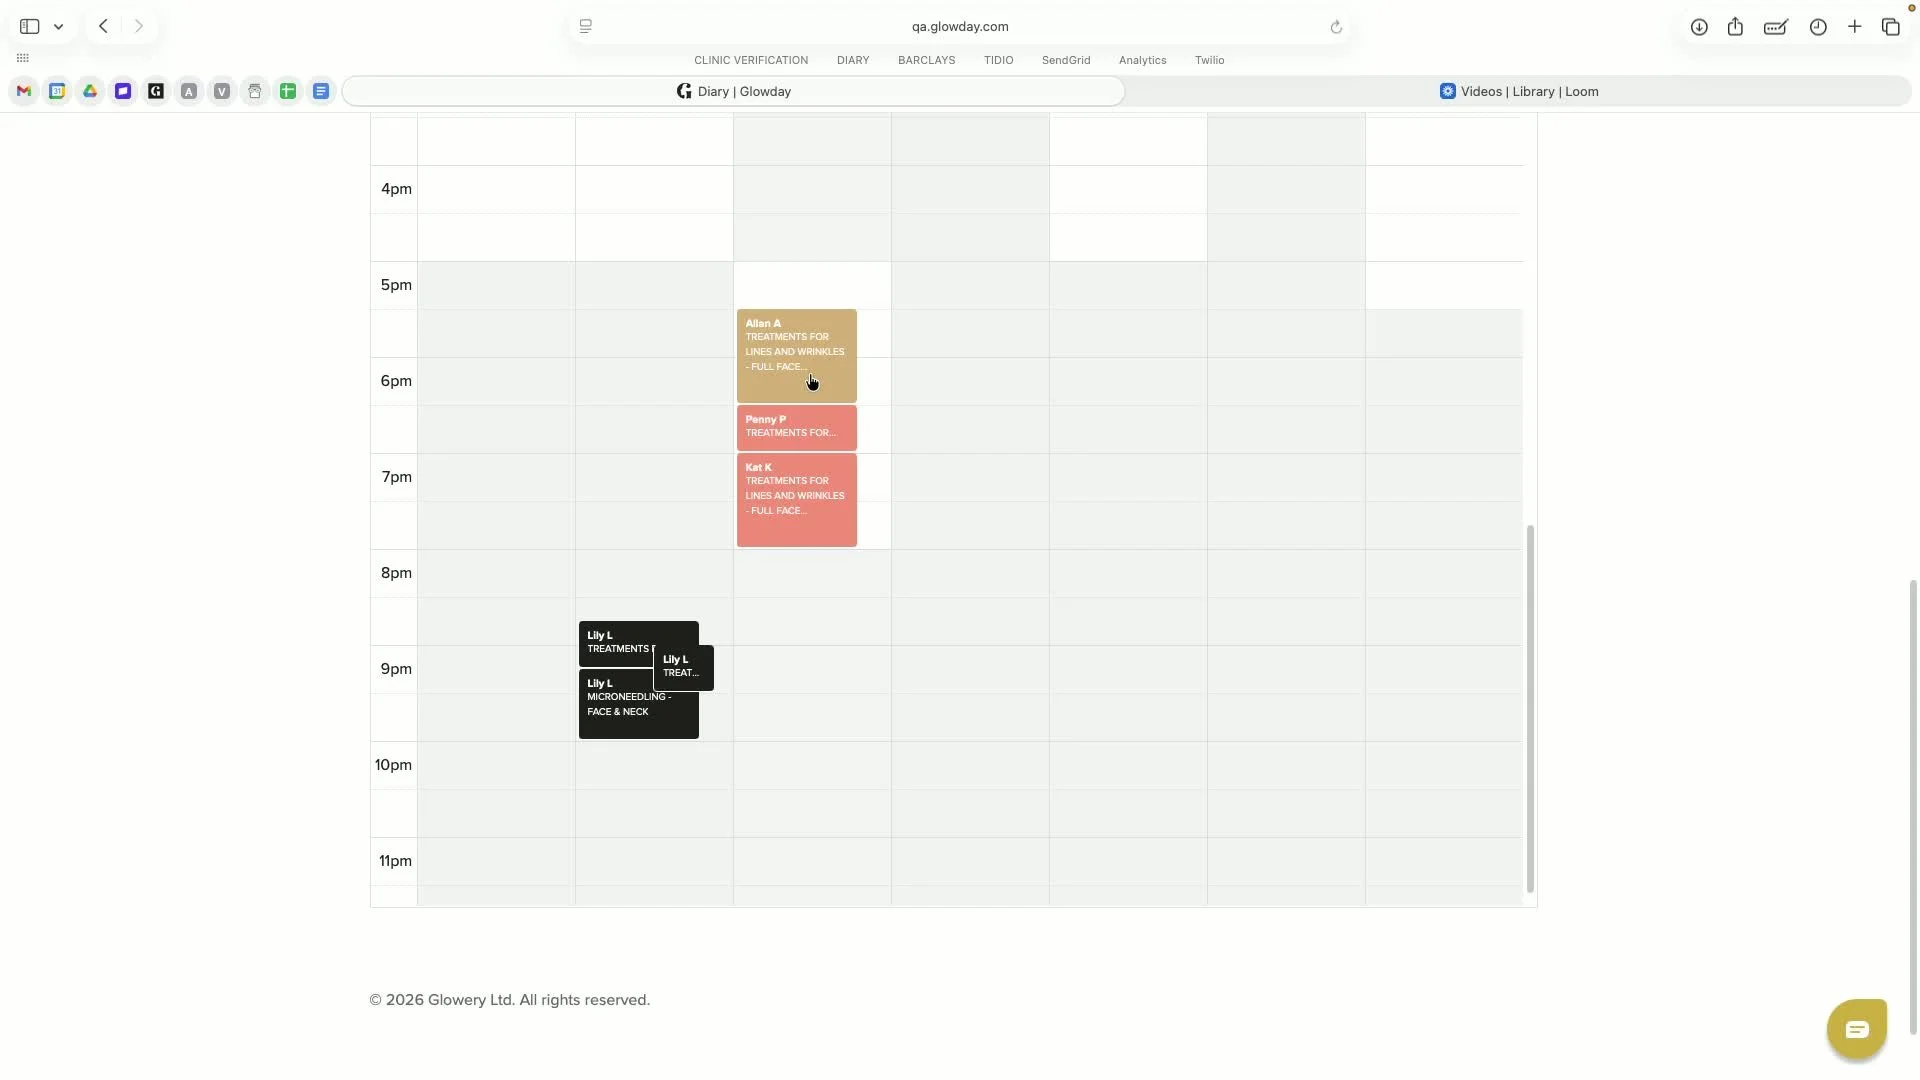
Use diary colours to quickly identify booking status:
Grey space = unavailable
White space = bookable online
Black booking = completed appointment with payment taken and treatment record finished
Gold booking = confirmed booking with patient card details on file
Pink booking = pending confirmation added by the practitioner
Override grey areas only when necessary and appropriate.
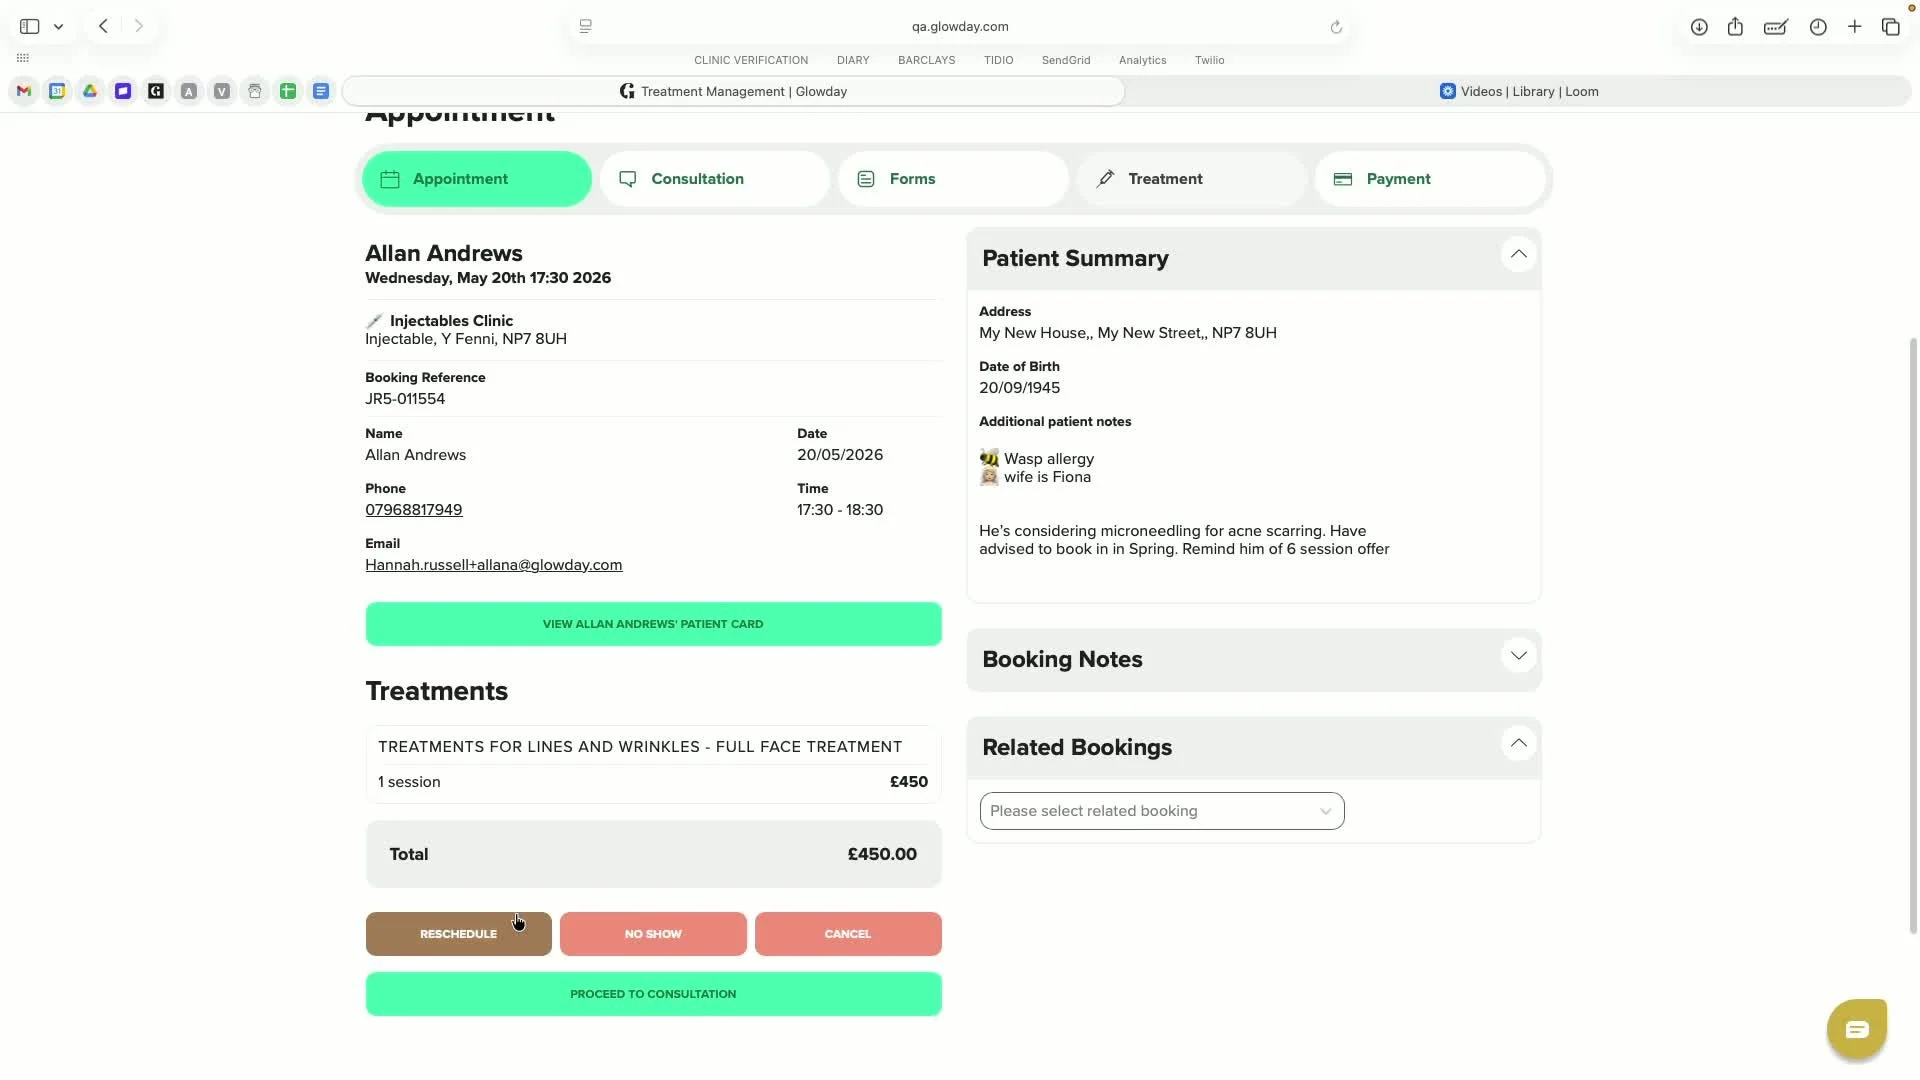
4. Open the appointment and review booking details 1:46
Open the relevant booking from the diary.
Review the appointment sections and note that the treatment record may be locked until consultation and forms are completed.
Confirm the patient’s details, treatment type, and contact information.
Use the available action buttons in the lower-left corner to move through the workflow.
5. Decide how to handle the appointment 2:23
Choose the correct action based on the appointment outcome:
Reschedule
Mark as no-show
Cancel
Follow the relevant flow for the selected action.
If the patient has confirmed with card details, use the platform to charge a no-show fee when appropriate.
6. Complete the consultation and add clinical notes 2:40
Proceed to the consultation step.
Review whether the patient is a regular patient and whether they have any existing treatment sessions in progress.
Add consultation notes directly into the record.
Upload any supporting files using the secure file uploader.
Notes are digitally time- and date-stamped with the practitioner name attached.
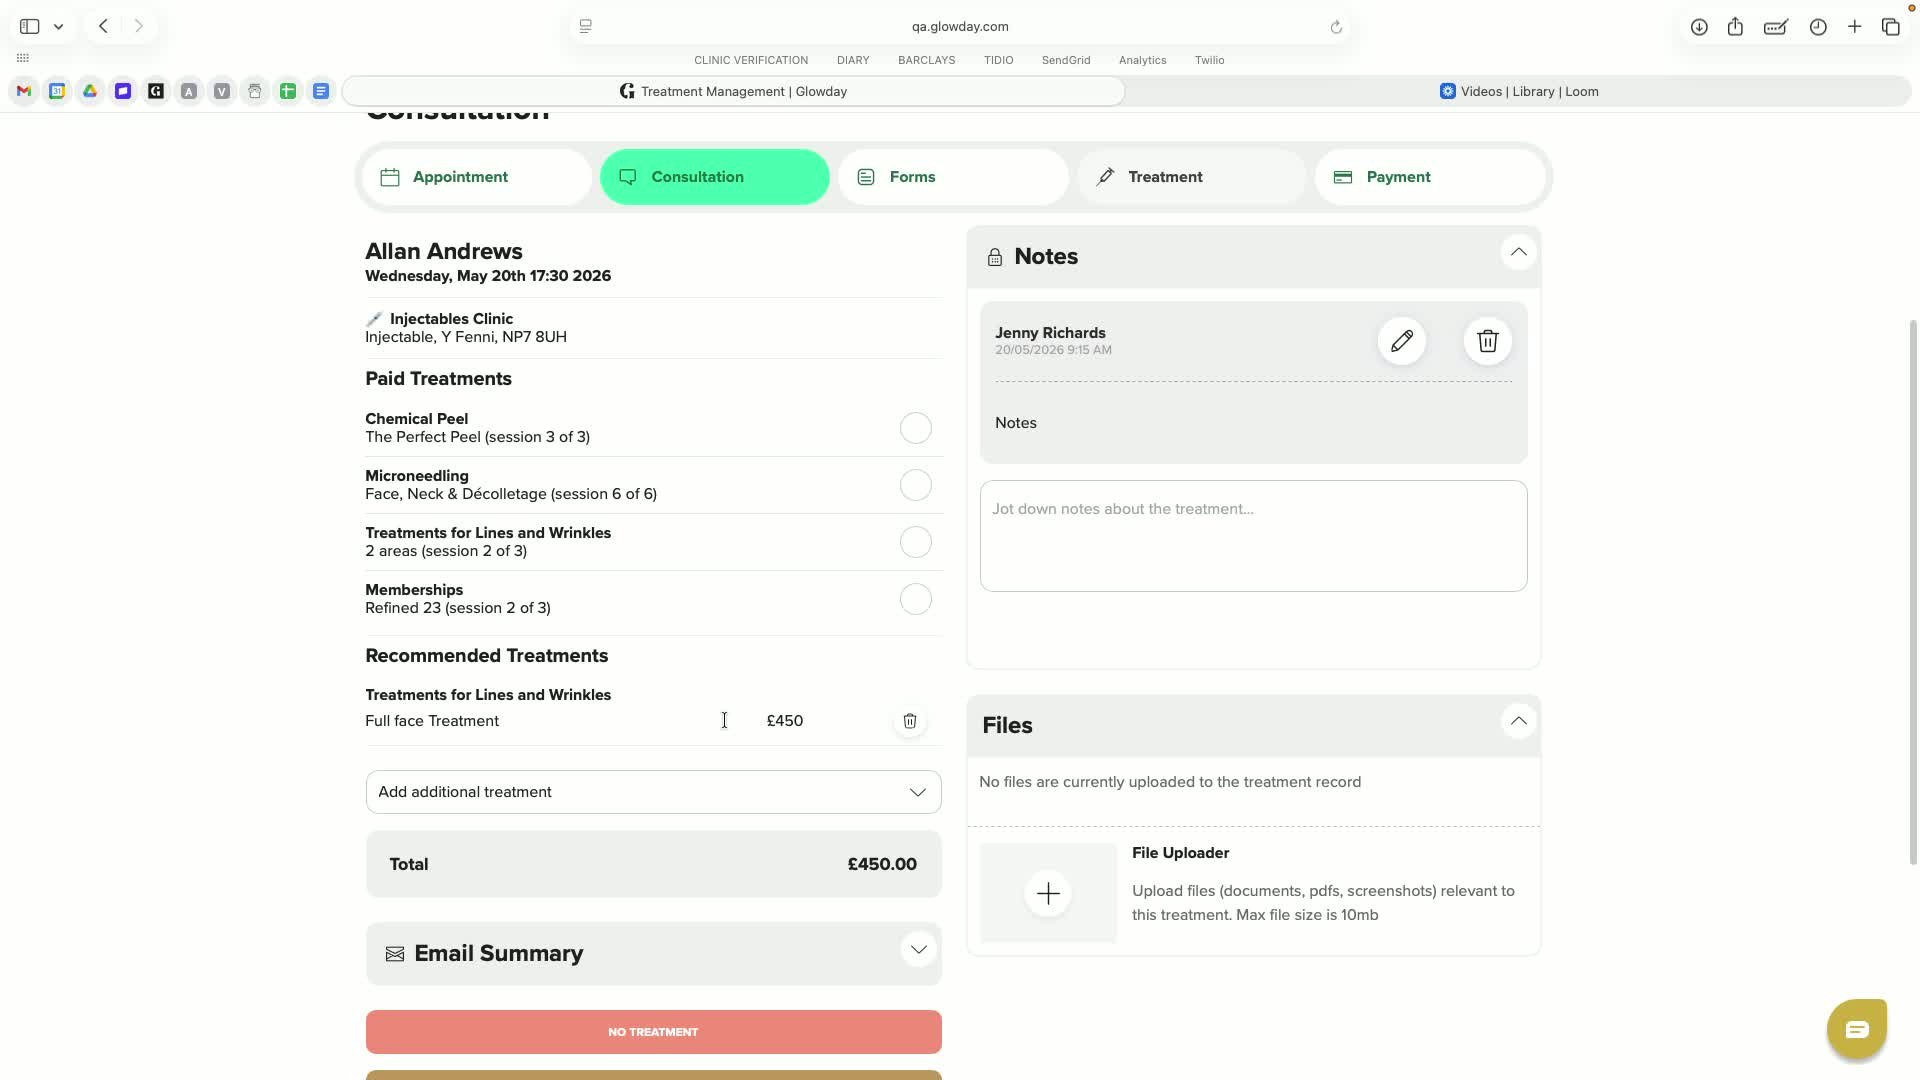
7. Determine treatment eligibility and proceed appropriately 3:13
Select the correct consultation outcome:
No treatment
Consultation only
Proceed with treatment
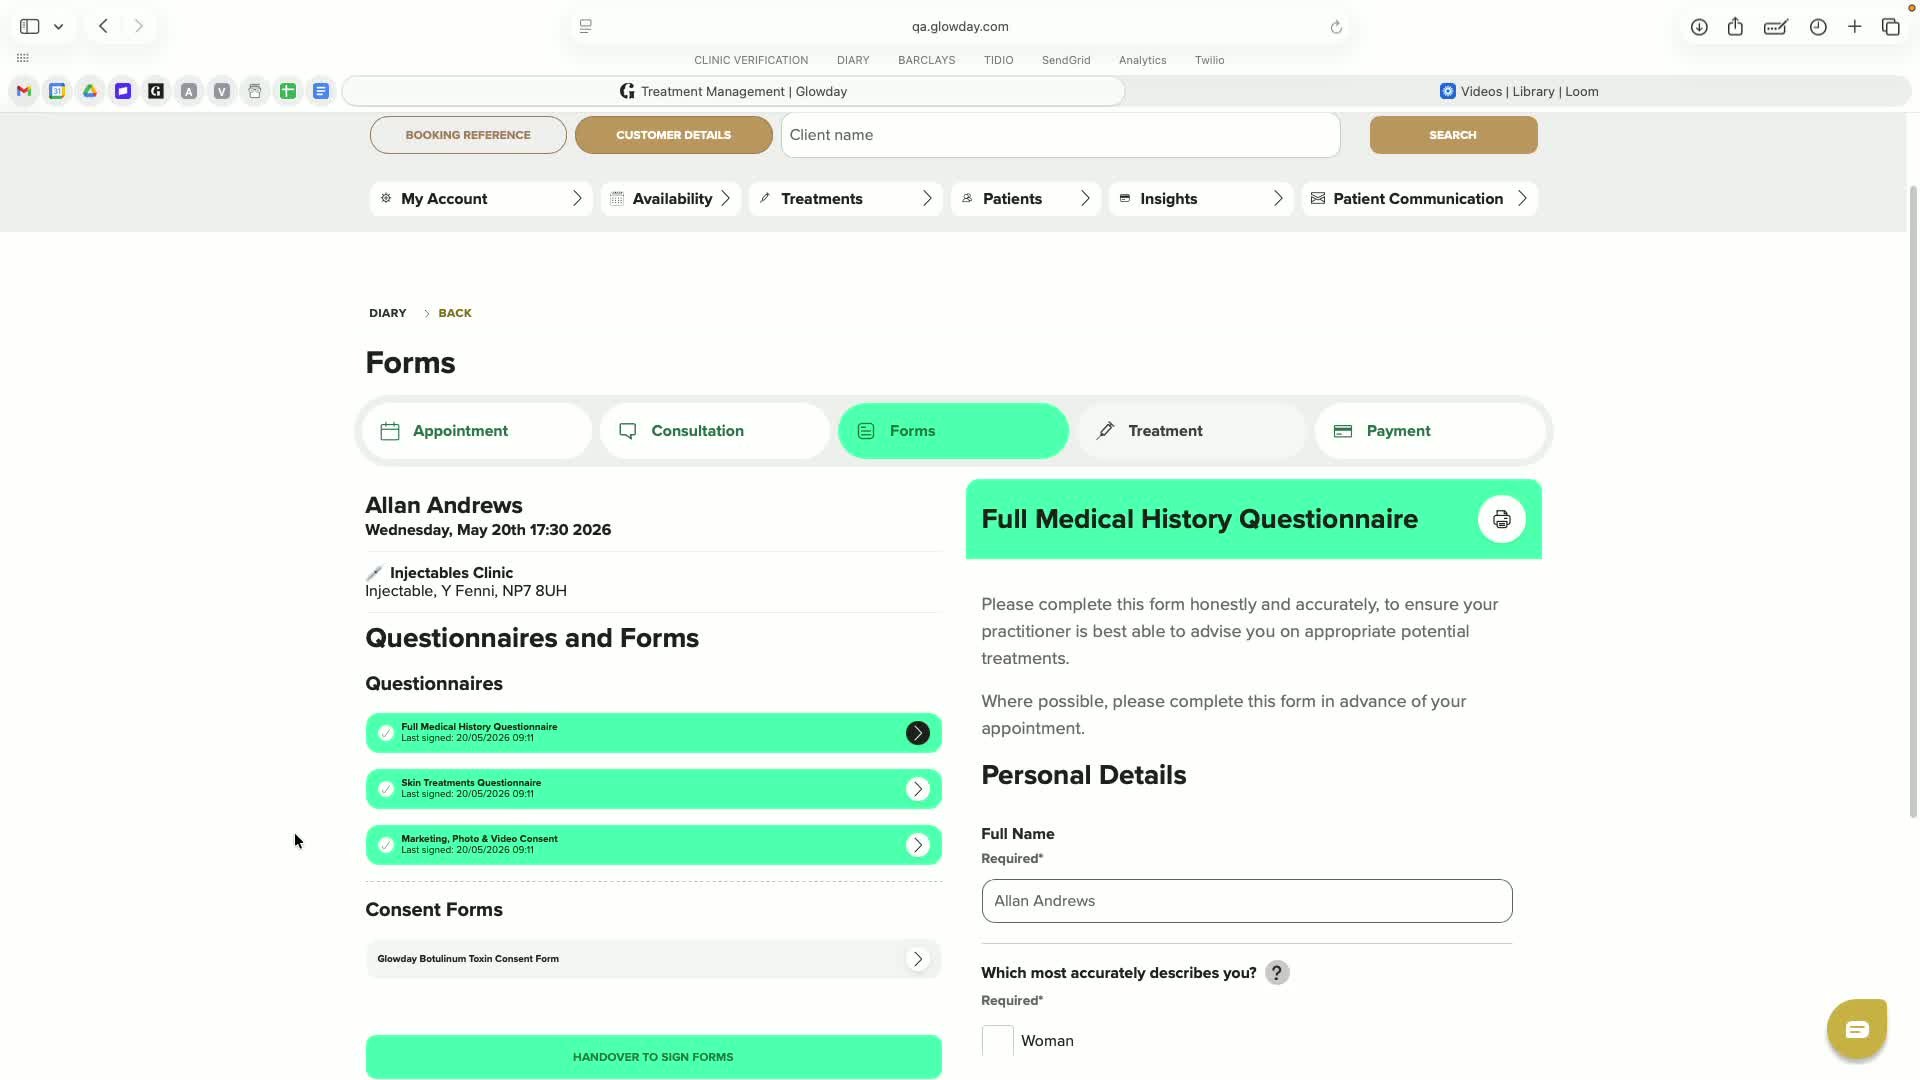
8. Confirm all required forms and consent are completed 3:30
Verify that all pre-treatment forms, questionnaires, and required signatures are completed.
Confirm that completed forms appear green in the system.
Remember that consent must be obtained after the full consultation is complete.
Use pre-completed forms ahead of the appointment whenever possible to save time in clinic.
9. Lock the device and collect patient consent 4:04
Lock the platform on the device before handing it to the patient.
Enter the four-digit code to restrict access to sensitive data.
Hand the device to the patient so they can review and sign the final consent form.
Once signed, take the device back and unlock it using the same code to return to the treatment flow.
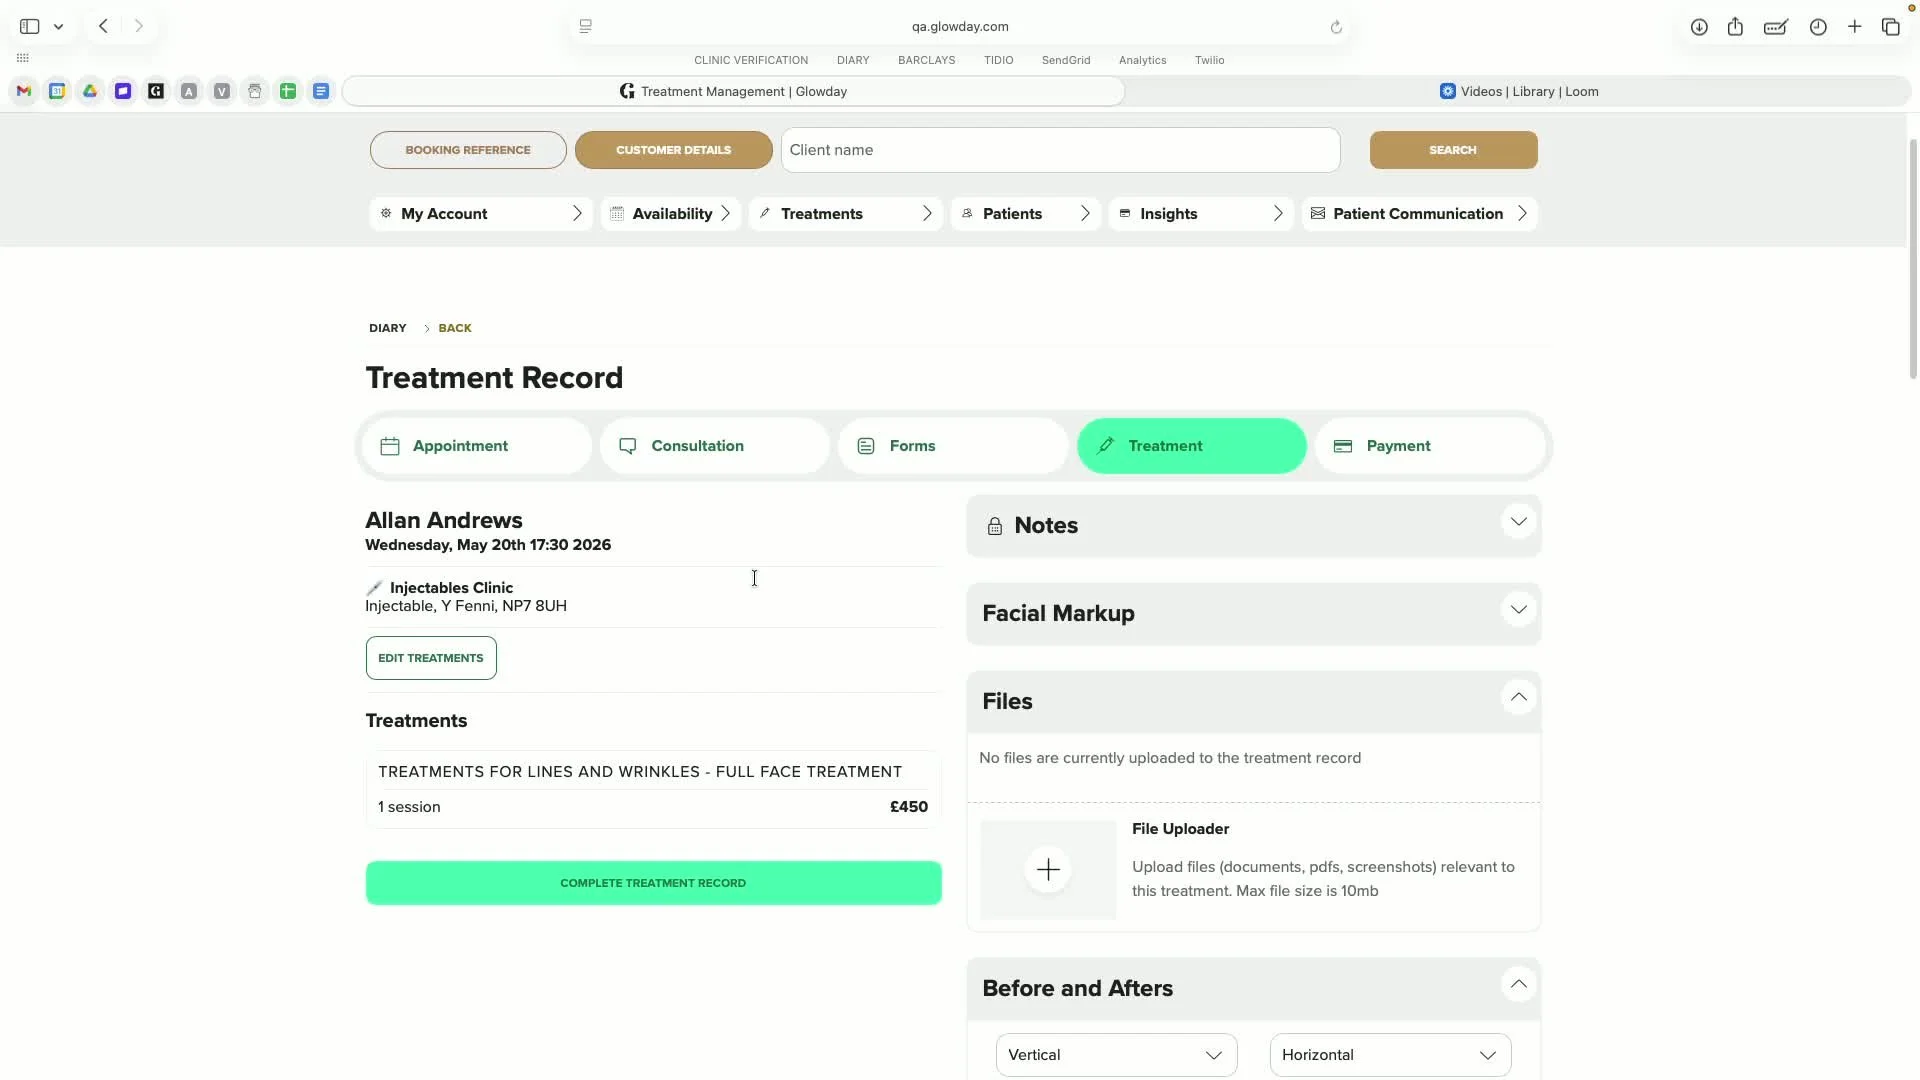
10. Complete the treatment record and add treatment evidence 4:45
Continue to the treatment section after consent is completed.
Add treatment notes, using dictation if working from a phone or tablet.
Use facial markup tools if needed, including Apple Pencil support on tablet.
Upload secure files and before-and-after photos.
Add photos in either horizontal or vertical orientation, either by uploading stored images or taking new photos directly in the platform.
Select the treatment and, if consent has been granted, publish photos to the booking page carousel.
11. Finalise the treatment record and take payment 5:36
Mark the treatment record as complete once all notes, photos, and documentation are finished.
Process payment directly through the platform using the patient’s stored card details.
Confirm that payment has been successfully processed before closing the appointment.
12. Schedule follow-up actions and manage the booking page5:50
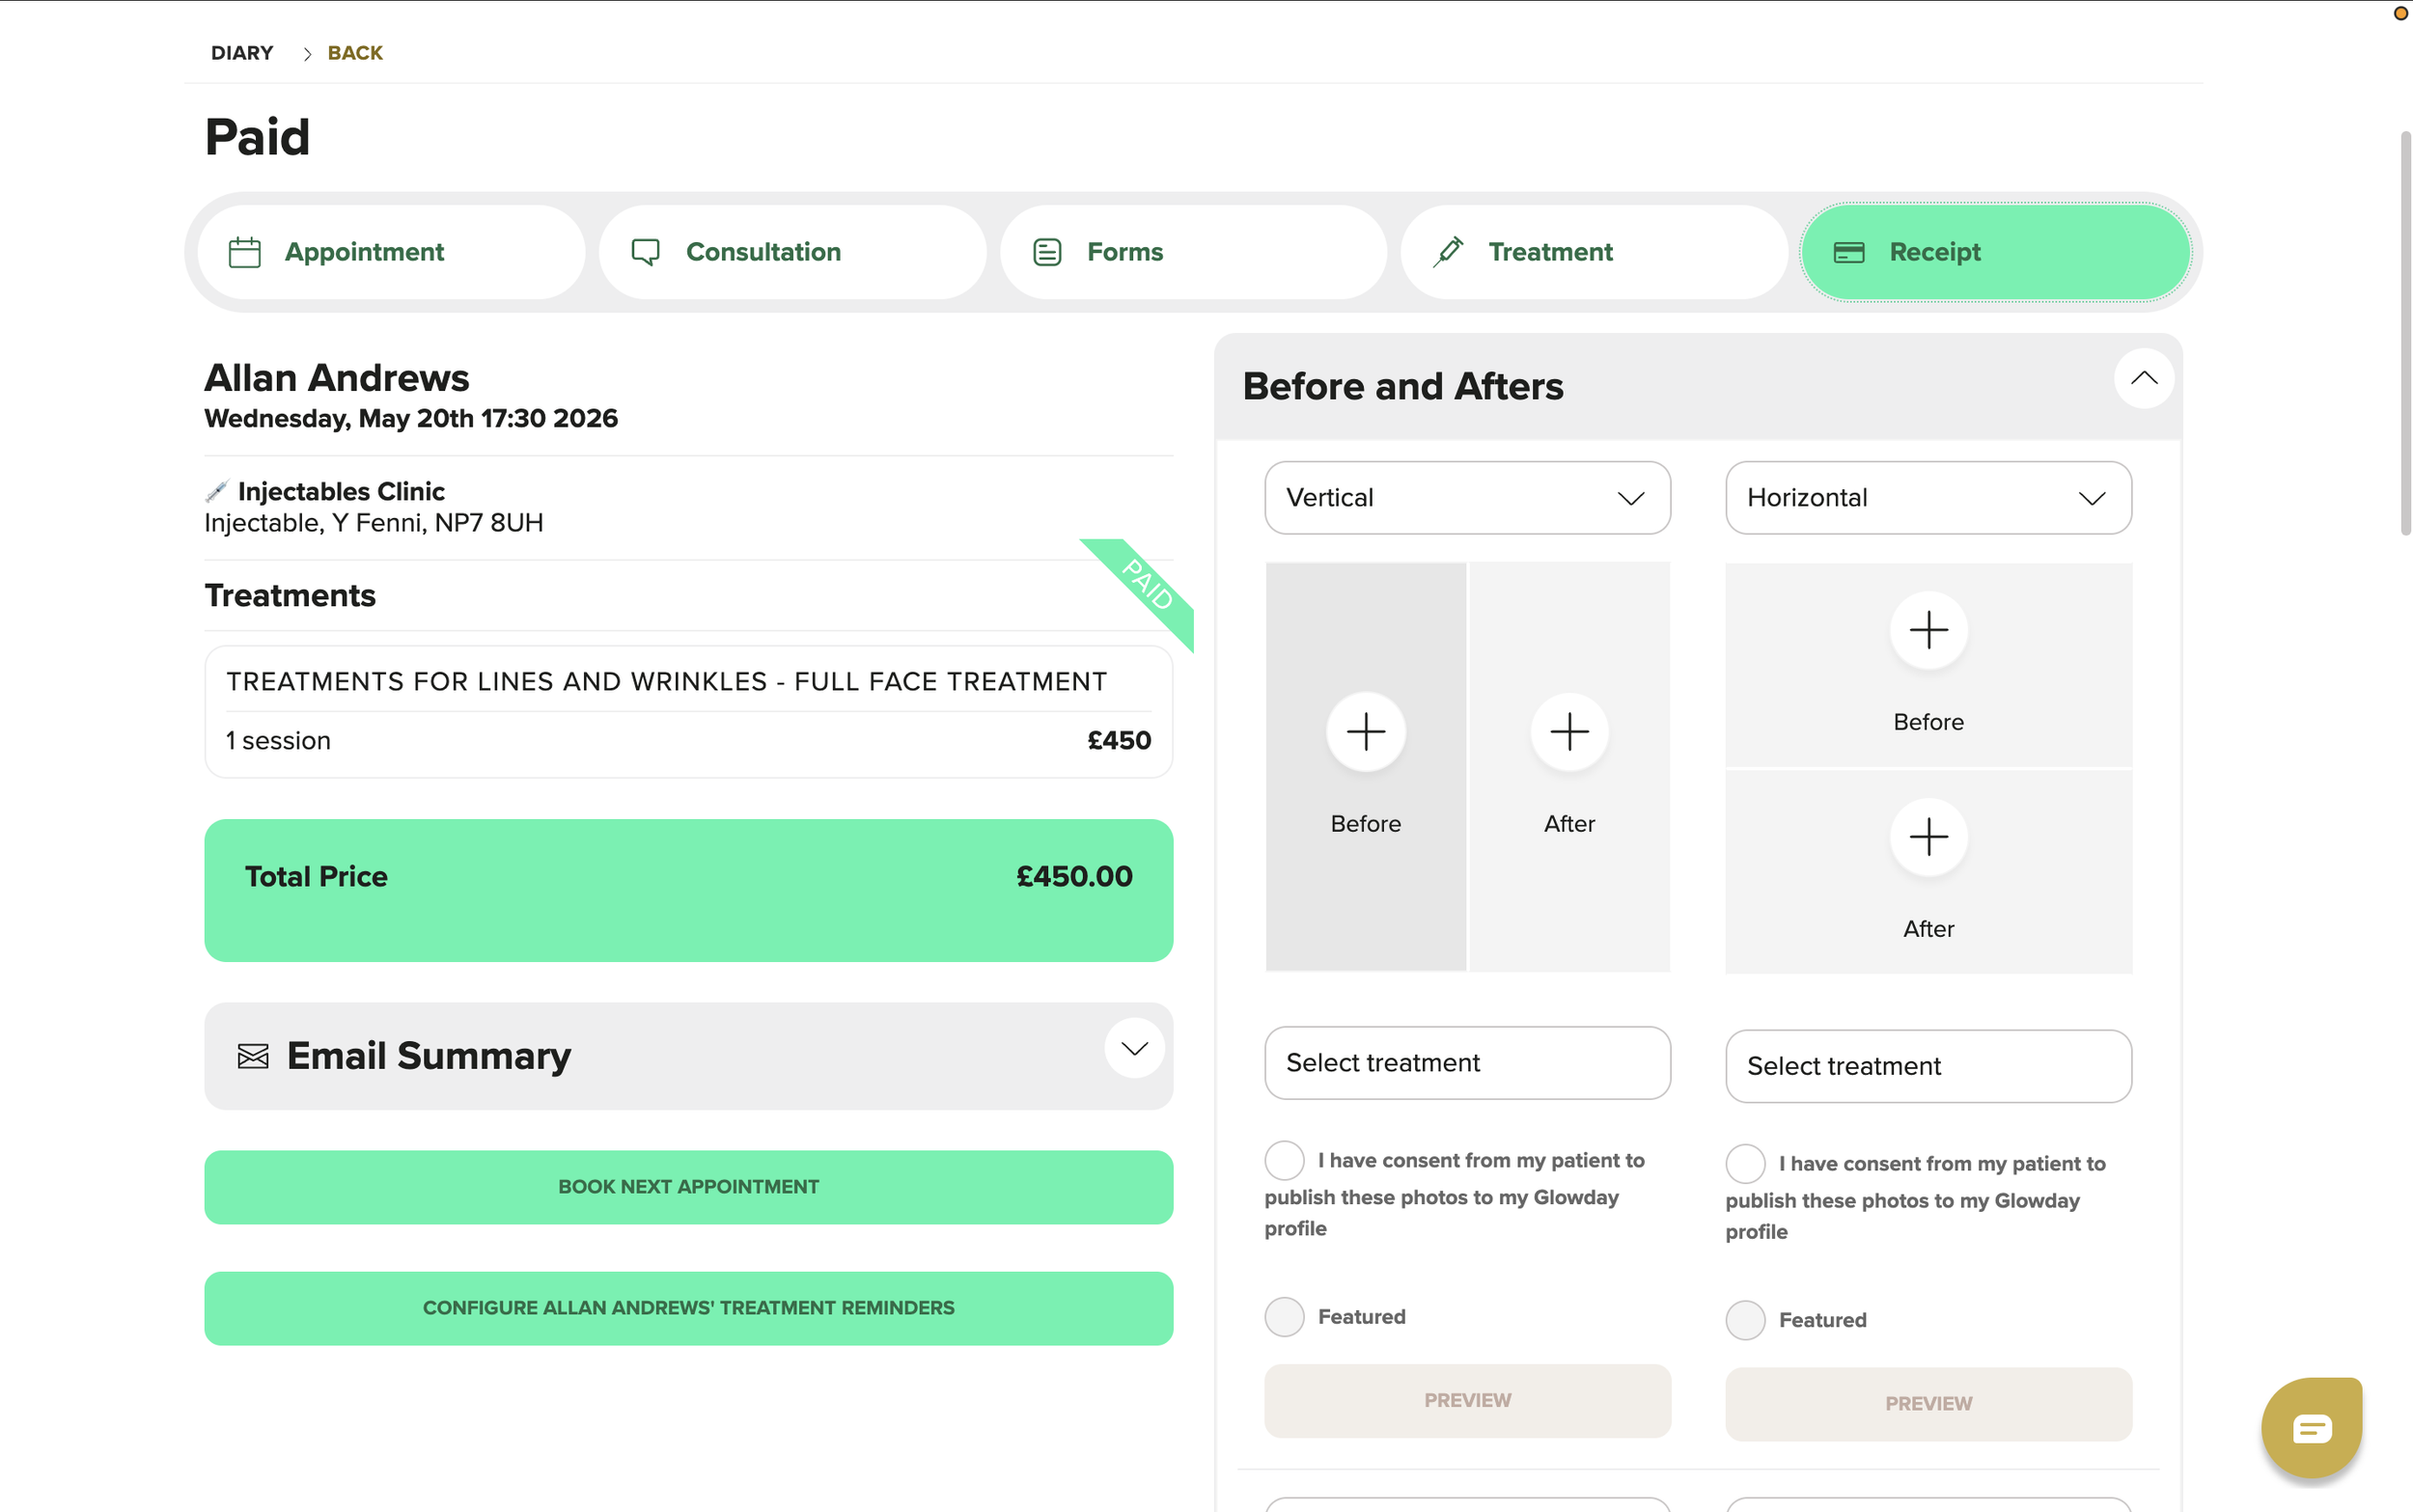
After payment, either:
Book the patient’s next appointment, or
Set reminders for the patient to book later.
Review the practitioner booking page to ensure clinic information is current.
Confirm that the page displays the practitioner bio, professional profile, training, locations, treatments, before-and-after photos, and reviews.
Note that review emails are sent automatically after treatment completion, helping ensure reviews are genuine and verified.
Some things to look out for…
You won’t be able to complete the treatment record if:
you’ve not added recommended treatment on the consultation tab
there are unsigned forms
you’ve worked through the flow using the navigation tabs at the top, rather than the action buttons on the bottom left of the screen
Consent must be collected after the consultation, not before.
Only publish before-and-after photos if patient consent has been granted.
Use the device lock code carefully to protect patient confidentiality when handing the device to the patient.
Ensure any no-show or cancellation actions follow clinic policy before charging or closing the booking.
Confirm payment has fully processed before allowing the patient to leave.
Tips for Efficiency
Complete questionnaires and other pre-appointment forms before the visit to reduce in-clinic admin time.
Resend confirmation requests directly from pending bookings to reduce manual follow-up - try to clear pink bookings from your diary.
Use dictation on mobile devices to speed up note entry.
Upload photos and files directly from the treatment record to keep documentation centralised and to maintain good data practices - you shouldn’t have patient data on your personal devices.
Keep your practitioner profile, treatments, and locations updated so the booking page stays accurate.